

INSTALLATION INSTRUCTIONS
YOU CAN DO THAT EASILY!
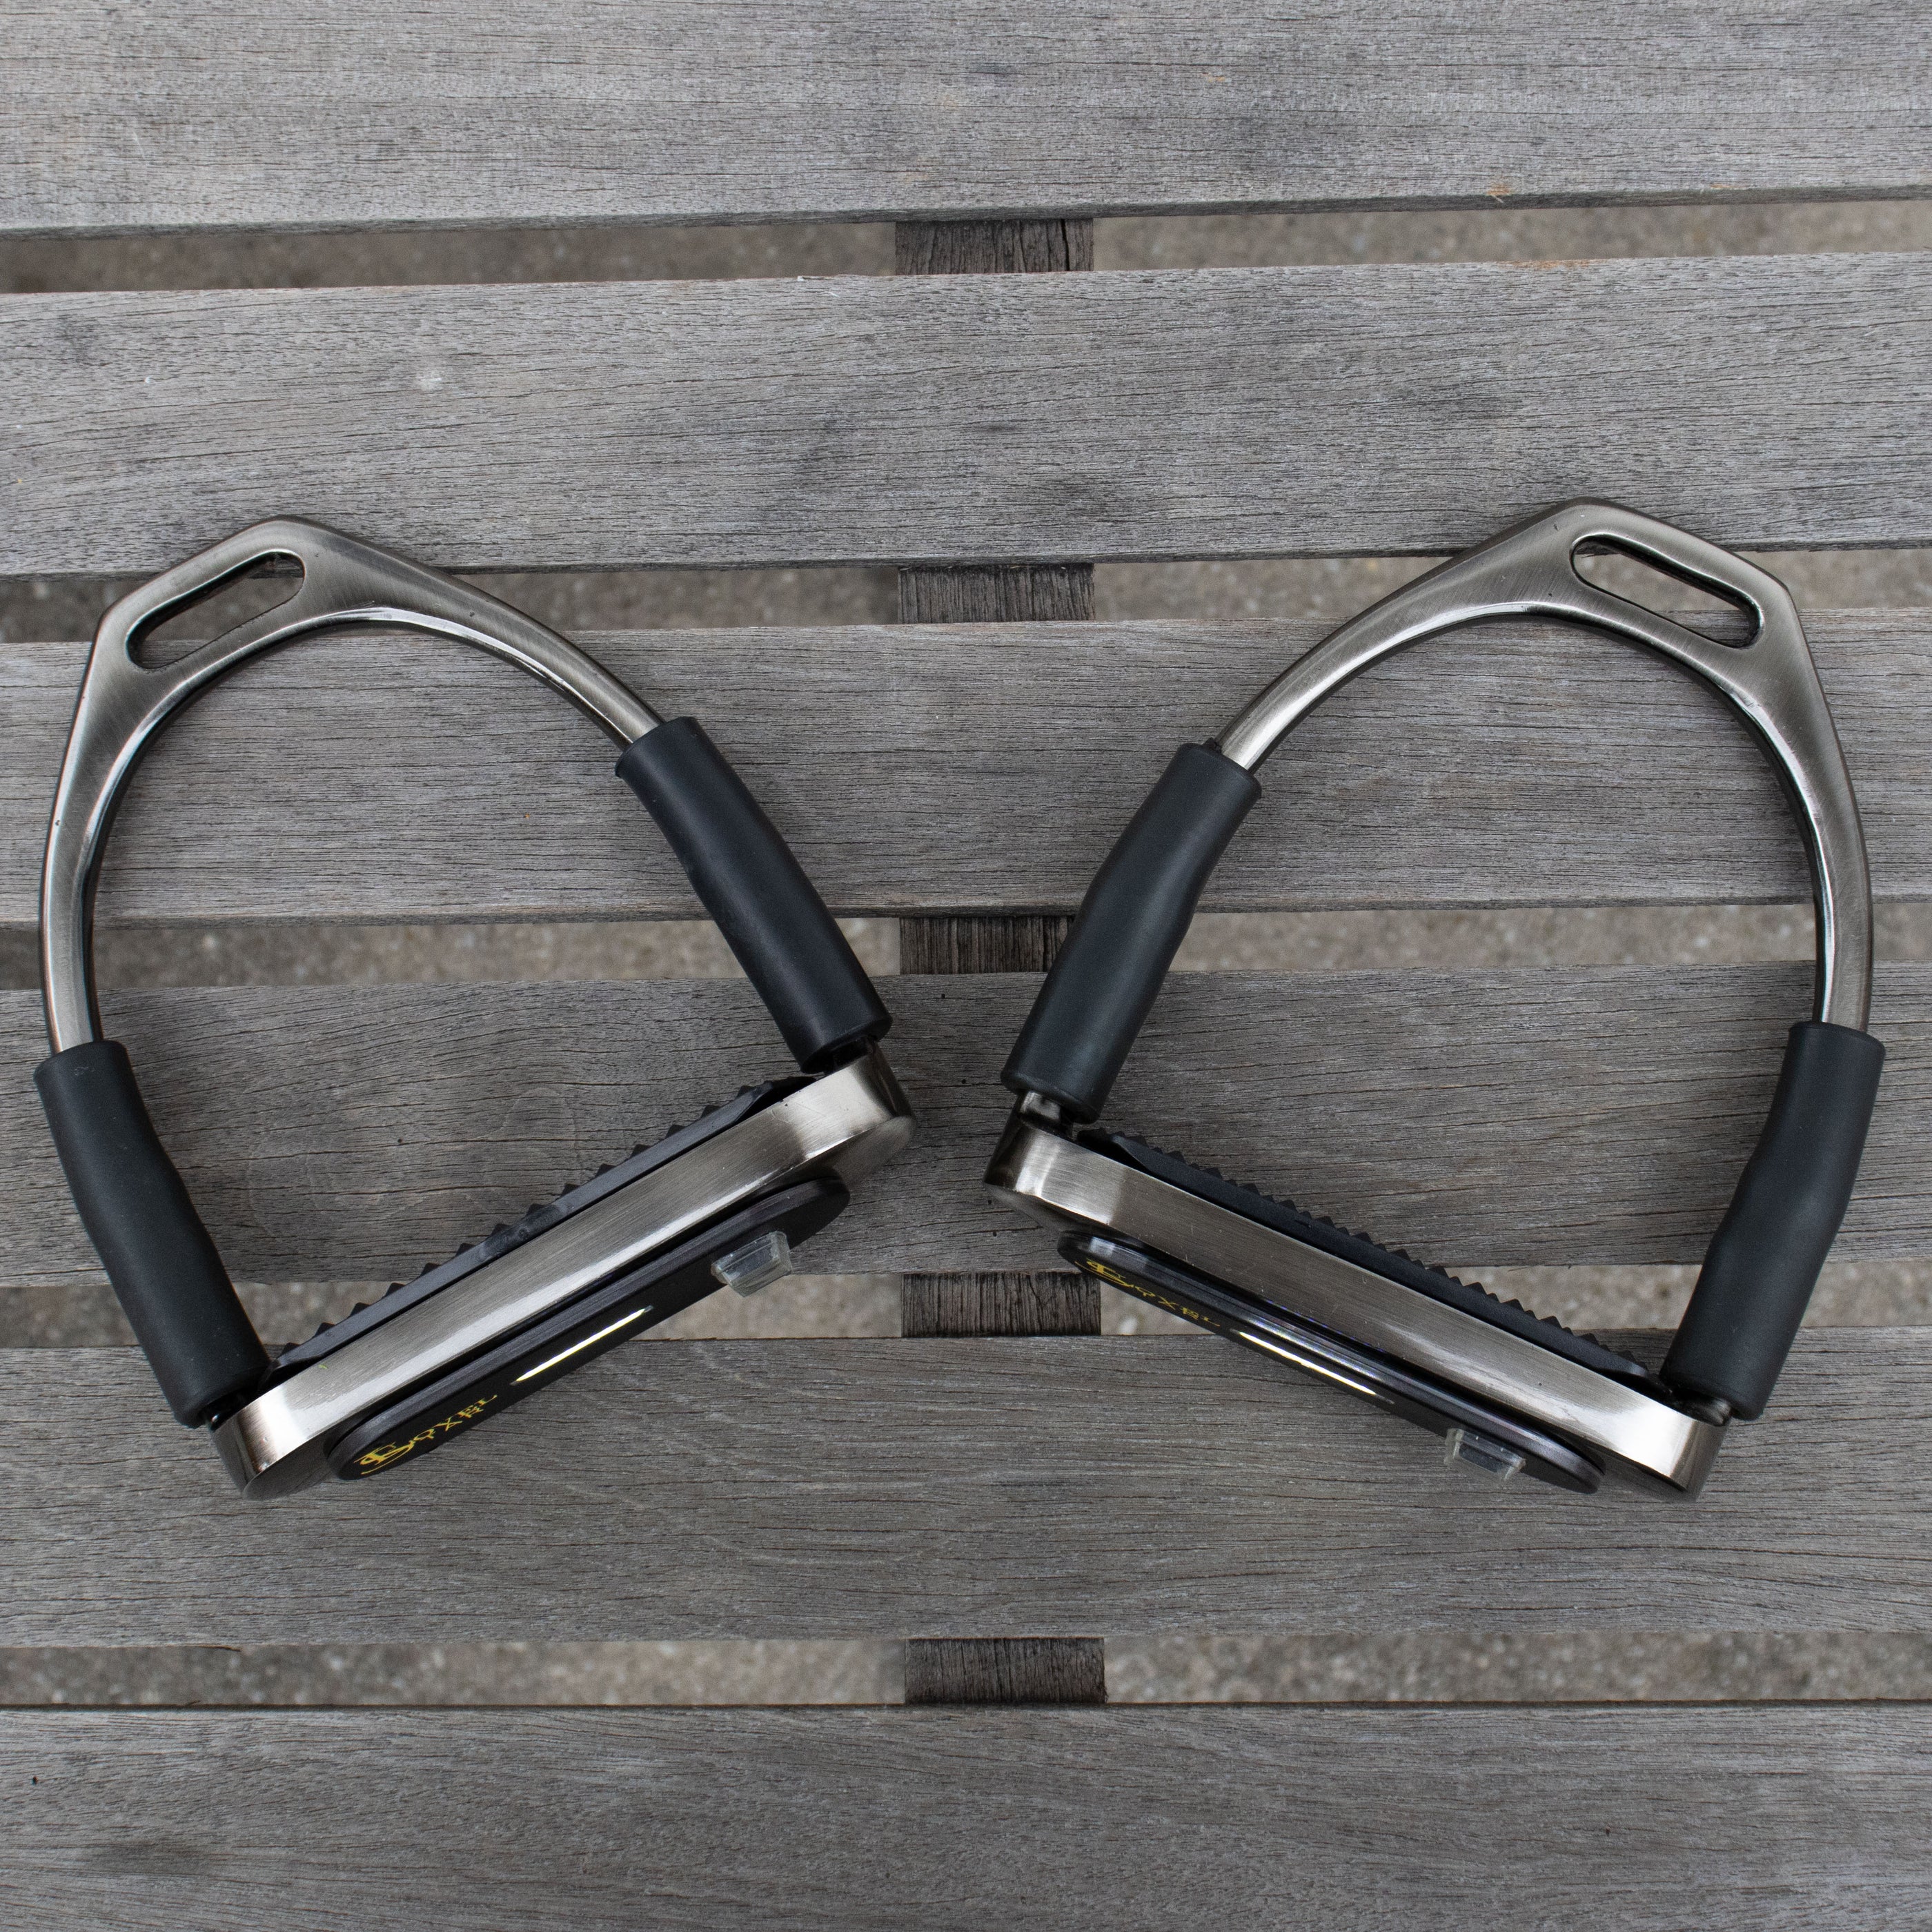
Step 1
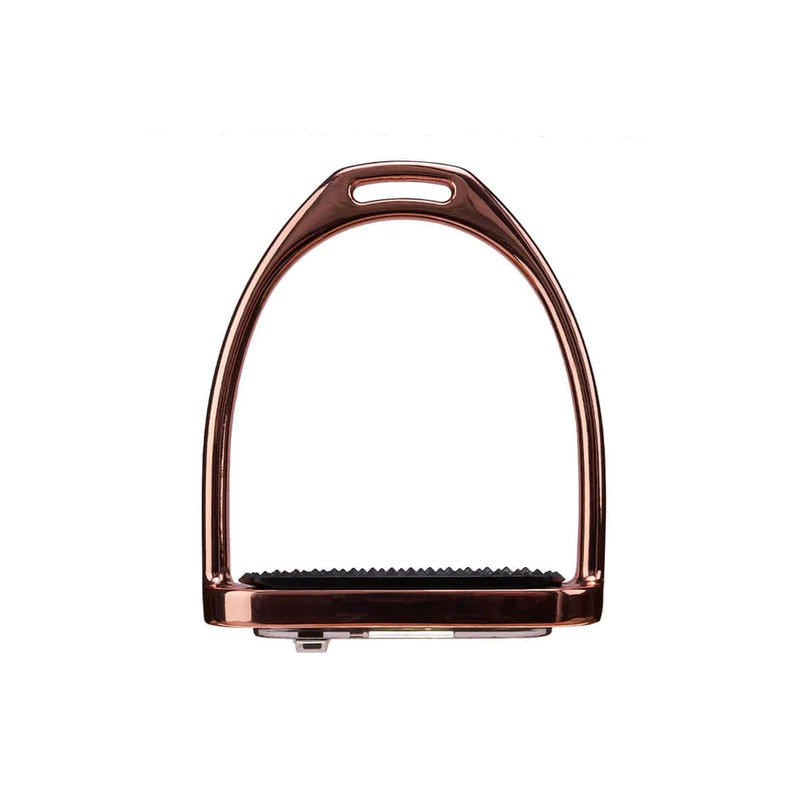
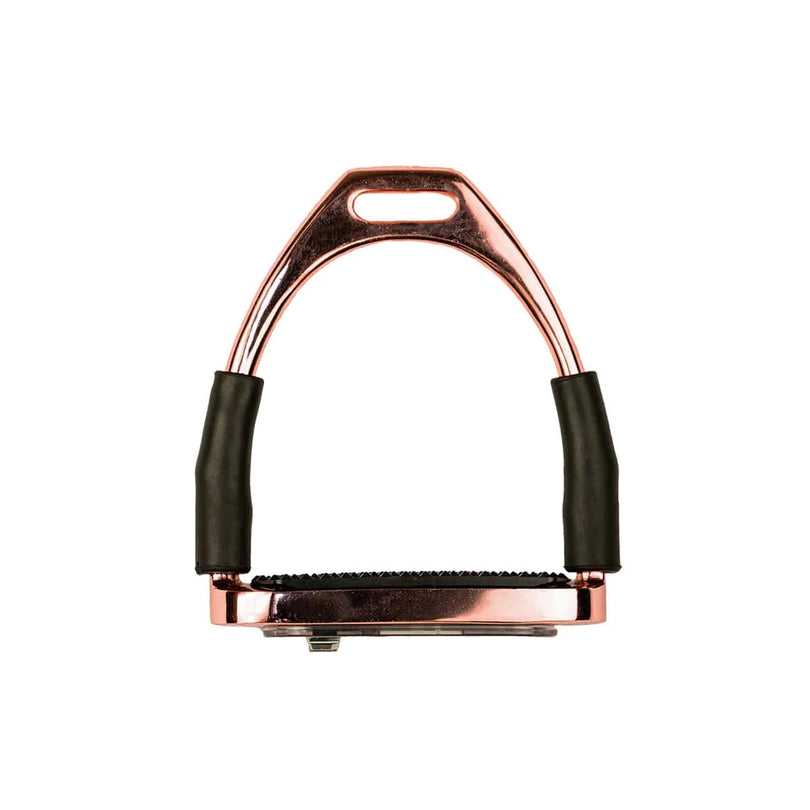
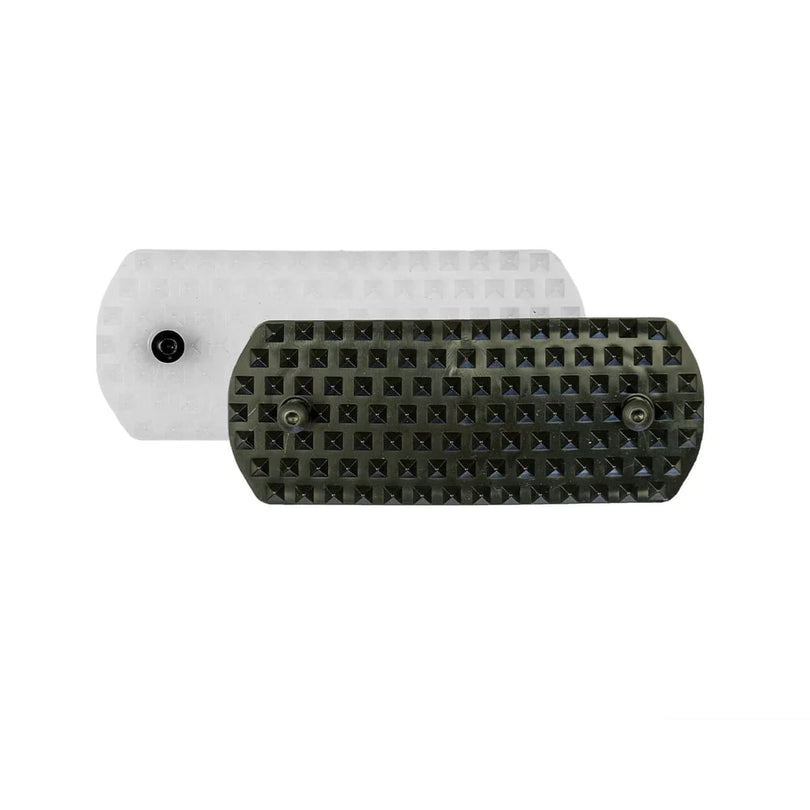
Remove the rubber insert from your stirrup.
step 2
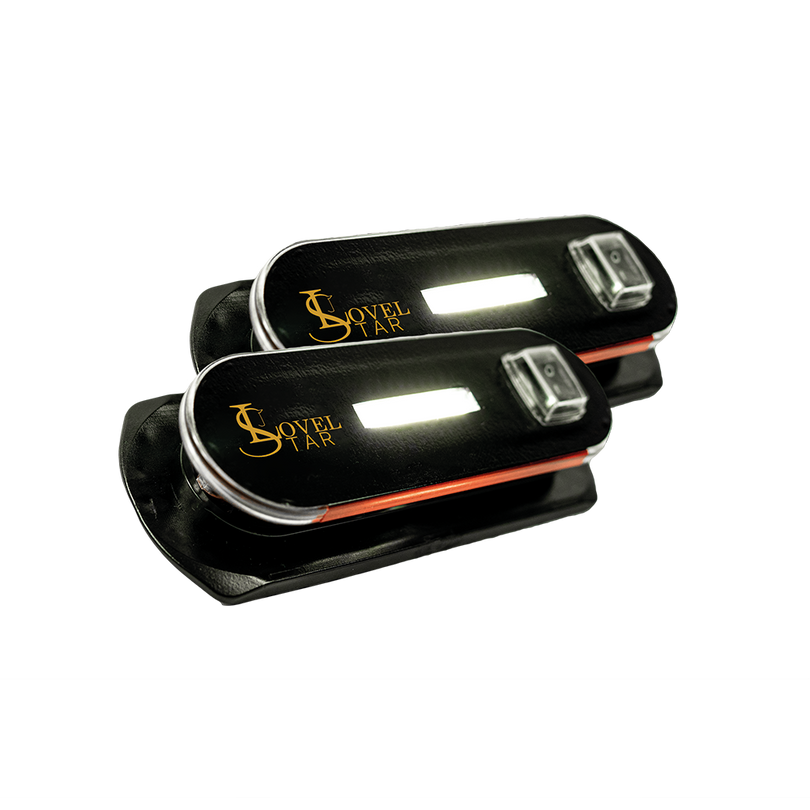
Insert battery (V23a) (pay attention to + and -) and test LED (on/off).
step 3
Insert the LED housing into your stirrup.
Step 4
Insert the tread from above.
Step 5
Tighten M4 screws (included) with a suitable Allen key (size 2.5mm).
Caution: Do not overtighten to avoid tearing out the material.
You can also find detailed instructions in this video
(By starting the video you accept YouTube's privacy policy and terms and conditions)
Done! Have fun riding safely!
Warnings :
Please do not look directly into the LEDs.
Check the treads and stirrup LEDs for wear before riding.